PTKViewer#
PTKViewer is a standalone application for visualising 3D or 2D data slice-by-slice.
Requirements#
A recent version of Matlab
Pulmonary Toolkit
Features#
View images slice-by-slice in coronal, sagittal or axial directions
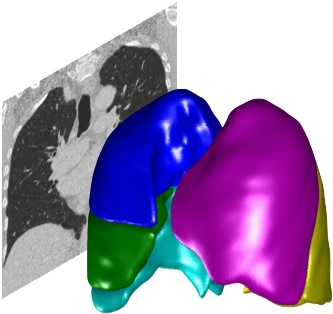
Overlay image with adjustable transparency
Quiver plot overlay
Zoom and Pan tools
Change window and level through scrollbars or editable text boxes
Cine using mouse wheel, scrollbar or draggable cine tool
Marker mode to interactively add, remove and edit marker points in multiple colours
Supports non-uniform image resolutions
Displays current voxel coordinates, image value and Hounsfield value (for C images)
Running PTKViewer#
Before running the PTKViewer, you may first need to add the PTK paths
PTKAddPtkPaths;
To visualise a 3D volume contained in the matrix my_image, run:
PTKViewer(my_image);
my_image can also be a PTKImage or PTKDicomImage class. This is preferable, because then PTKViewer will respect the voxel size and automatically display a title based on the patient name.
You can specify an image type to control how the image is displayed:
PTKViewer(my_image, image_type);
Possible values of image_type are:
PTKImageType.Grayscale- visualise a greyscale image (use for CT and MRI data)PTKImageType.Colormap- visualise using the Lines colourmap. Each voxel represents a colour, e.g. 1 = blue, 2 = green, 3 = red etc.PTKImageType.Scaled- visualise in shades of red (positive values) or blue (negative values), scaling the image so that the smallest value is black and the highest value is red.
To view data from DICOM files, load them into a PTKImage and then display this:
    dicom_image = PTKLoadImageFromDicomFiles(path, filenames);
    PTKViewer(dicom_image);
A similar approach applies to mhd/raw files:
    my_image = PTKLoad3DRawAndMetaFiles(path, filenames, uid);
    PTKViewer(my_image);
Note you must specify an image uid, because this is not specified in the metaheader.
Controls#
The
Cor(Coronal),Sag(sagittal) andAx(Axial) buttons control which direction you are viewing the images inThe
Imagecheckbox toggles display of the background imageThe
Overlaycheckbox toggles display of the overlay image. Move the slider to change the transparency of the overlayWindowandLevelcontrols can be adjusted using sliders or editable text boxes